Introduction
Moving to a new house is always an exciting yet challenging endeavor. It involves meticulous planning, especially when it comes to transporting valuable and bulky items like your Peloton bike. This comprehensive guide will walk you through the entire process of moving your Peloton bike, from disassembly to transport and reassembly, ensuring that your prized fitness equipment reaches its new destination safely and is set up for continued use.
Preparing for the Move
Before diving into the disassembly process, there are a few preparatory steps that can streamline the whole operation.
Assess the New Space
Before moving your Peloton bike, ensure that your new home has a suitable spot for it. Consider factors like space availability, flooring type, and room ventilation. Ideally, the bike should be placed on a hard, level surface, away from direct sunlight and moisture.
Gather Necessary Tools and Materials
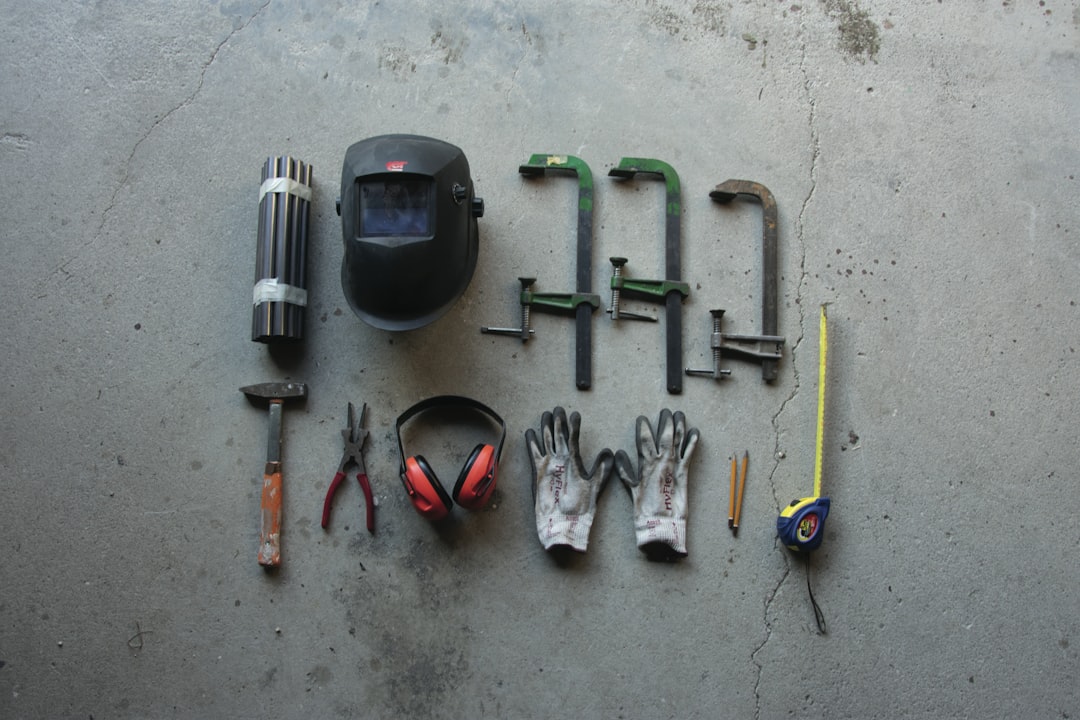
To disassemble and transport your Peloton bike, you'll need specific tools and materials. Gather items such as an Allen wrench set, a Phillips screwdriver, bubble wrap or moving blankets, packing tape, and a sturdy dolly or hand truck. Having these on hand will make the disassembly and transportation process smoother.
Document the Initial Setup
Take photos or record a video of your Peloton bike's setup before you start disassembly. Capture details like the seat height, handlebar positioning, and screen angle. This documentation will serve as a useful reference when it's time to reassemble the bike in your new home.
Disassembling Your Peloton Bike
Disassembling your Peloton bike is a delicate process that requires attention to detail. Follow these steps to ensure safe and efficient disassembly.
Remove the Touchscreen
Detach the Pedals
Remove the Seat and Handlebars
Disassemble the Frame
Transporting Your Peloton Bike
Once your Peloton bike is disassembled, the next step is transporting it safely to your new location.
Use a Dolly or Hand Truck
Protecting Components
Professional Moving Services
If you're unsure about transporting the bike yourself, consider hiring professional movers with experience in handling fitness equipment. They have the expertise and tools necessary to move your Peloton bike safely.
Reassembling Your Peloton Bike
Upon reaching your new home, it’s time to reassemble your Peloton bike. Follow these steps to ensure everything is set up correctly.
Position the Bike Frame
Reattach the Seat and Handlebars
Reinstall the Pedals
Reattach the Touchscreen
Test the Bike
Tips for a Smooth Move
Plan Ahead
Start planning the move of your Peloton bike well in advance. Last-minute rushing can lead to mistakes or damages.
Seek Help
Don't hesitate to ask for help from friends, family, or professionals when disassembling, transporting, or reassembling your bike.
Keep Instruction Manuals Handy
Having the Peloton instruction manual on hand can be incredibly helpful, providing specific guidance and diagrams for the assembly process.
Regular Maintenance
After reassembly, take the opportunity to perform regular maintenance checks, such as tightening bolts and lubricating moving parts, to keep your bike in optimal condition.
Conclusion
Moving a Peloton bike to a new house doesn't have to be a daunting task. With careful planning, the right tools, and a systematic approach, you can ensure your bike is moved safely and efficiently, ready for many more workouts in your new home. Whether you choose to handle the move yourself or enlist professional help, following these detailed steps will help protect your investment and maintain its performance. Enjoy your new space and keep riding towards your fitness goals!
Trust your investment to a master technician who knows you and your equipment. Note: Treadmill Maintenance Program coming soon!
The Concierge Maintenance Program includes:
Experience worry-free workouts with personalized service from a Certified Master Peloton Technician. Here's what you get with the program:
Thorough Inspection: David’s keen eyes and ears evaluate every inch of your bike and sound that it makes. This meticulous check ensures early detection of potential issues, preserving the bike’s lifespan and performance.
Hardware Integrity: Bolts, nuts, and screws on your Peloton bike’s screen, goose-neck, handlebars, cupholders, wheel cover, seat, inner and outer belt guards, stabilizers bars, foot pads, and nuts are inspected and tightened to precise specifications. This prevents unexpected loosening or breakages, providing a safe and sturdy workout environment.
Sensor and Resistance System Check: Ensuring these crucial components are working accurately guarantees your workout stats are reliable, and your resistance changes are smooth.
Front Hub and Axil Assembly Evaluation: This inspection safeguards the operational efficiency of your Peloton bike, ensuring smooth and fluid wheel movement.
Cadence Magnet Check: This ensures your pedaling speed is accurately tracked, enabling you to follow along with your workouts correctly.
Bottom Bracket Examination: Checking and tightening the bottom bracket to proper torque specifications ensures the bike’s structural integrity and prevents damaging wobble during intense workouts.
Touchscreen Optimization: By removing “bloat” data from the touchscreen memory, we enhance its responsiveness and speed, providing you a seamless user experience.
Belt Adjustment: A properly tightened and aligned belt ensures efficient power transfer from your pedaling to the bike’s mechanism, leading to an effective and smooth ride.
Crank Arm and Pedal Inspection: Tightening the left and right crank arms, inspecting pedals, and securing screw rivets ensures the stability of your pedal stroke, preventing potential injuries and maintaining bike longevity.
Proper Bike Calibration: This essential service ensures your bike’s resistance levels are accurate, offering you a consistent workout experience.
**Personalized Care: We’re always ready to answer any questions you may have, and are more than willing to look into any specific area of concern you may have with your Peloton equipment. Year round!
