.png)
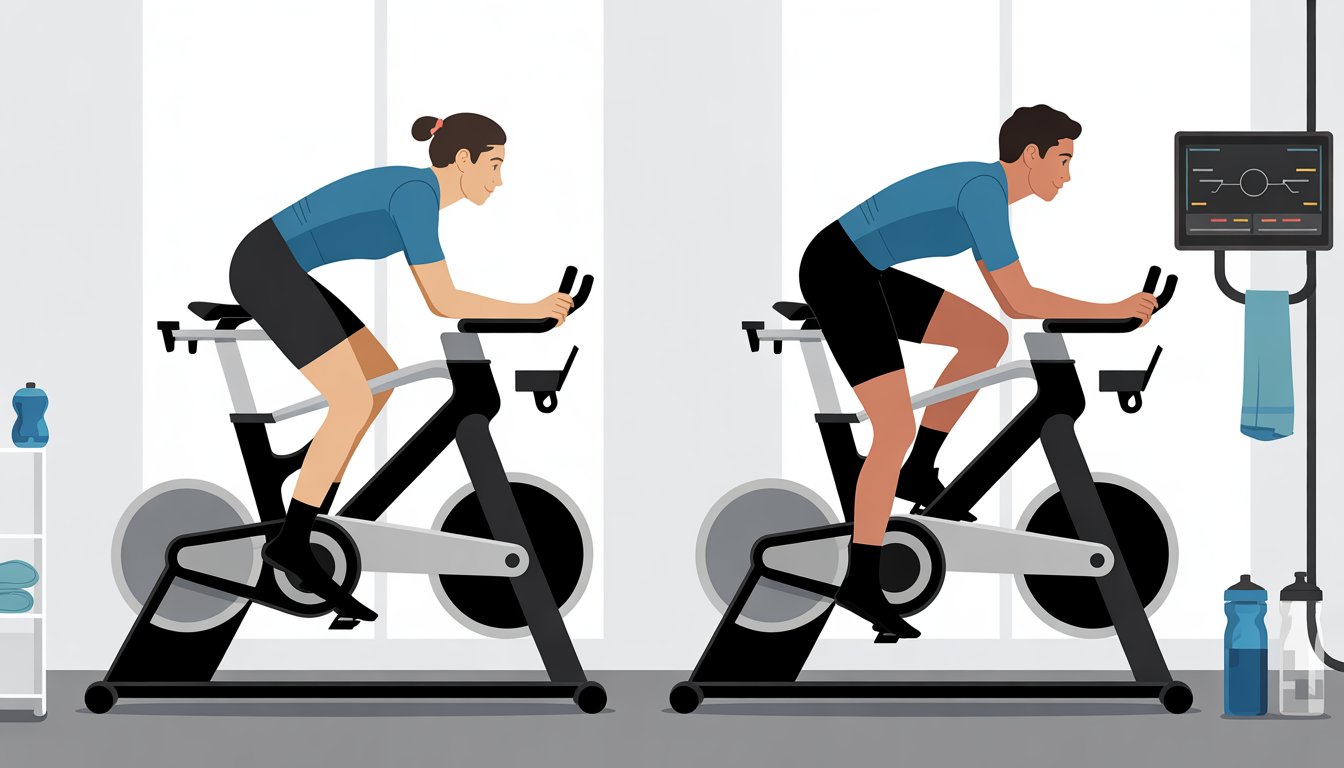
You hop on your friend's Peloton and suddenly feel like you're pedaling through quicksand, even though you're both at resistance level 40.
This frustrating experience happens to countless Peloton riders who discover that their bike feels completely different from other bikes they've tried.
Peloton bikes can feel different due to calibration variations during manufacturing, wear and tear on components, and mechanical issues that affect resistance accuracy. Peloton acknowledges there can be variance of about 10% between bikes, though some users report even greater differences.
Most of these issues can be fixed with proper calibration and maintenance.
Understanding why these differences occur and knowing how to address them will help you get consistent workouts whether you're riding at home, in a hotel, or at a friend's house.
From identifying calibration problems to performing the right maintenance steps, there are proven methods to ensure your Peloton performs exactly as it should.
Key Takeaways
- Peloton bikes feel different mainly due to calibration variations and component wear that affects resistance accuracy
- Most bike differences can be fixed through proper recalibration procedures and basic maintenance checks
- Regular maintenance and knowing how to spot calibration issues will keep your bike performing consistently over time
Understanding Why Peloton Bikes Feel Different
Peloton bikes can feel different due to manufacturing variations in calibration settings, model differences between the original Bike and Bike+, and individual user expectations based on fitness levels and riding position.
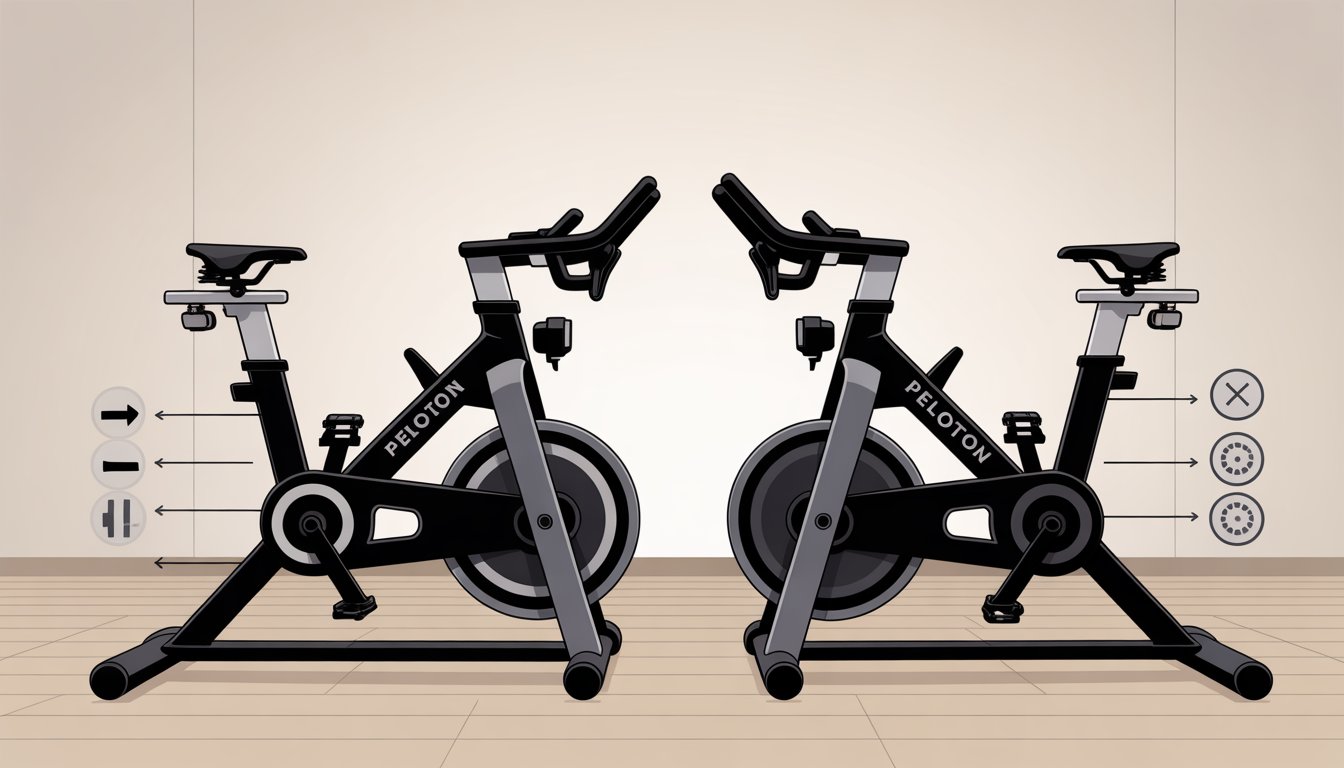
Variation in Bike Calibration
Each Peloton bike uses a magnetic brake system that gets calibrated during manufacturing.
Peloton acknowledges there is some minor variation from bike to bike in this process.
The company states there is typically about a 10% variance between bikes.
However, some users report experiencing differences that seem greater than 10% when switching between different Peloton bikes.
This calibration variance affects resistance levels.
A resistance of 50 on one bike might feel like 45 or 55 on another bike.
The magnetic brake components can have slight differences that impact how hard riders need to pedal.
Factors that contribute to calibration differences:
- Manufacturing tolerances in brake components
- Magnetic alignment variations
- Belt tension differences
- Wear patterns over time
Differences Between Peloton Models
The original Peloton Bike and the newer Bike+ have different calibration systems.
The Bike+ is designed to recalibrate digitally, which should reduce variance between units.
The original Bike uses a manual resistance knob with analog calibration.
The Bike+ features auto-resistance that adjusts digitally during classes.
This creates different feel experiences between the two models.
The Bike+ generally provides more consistent resistance due to its digital calibration capabilities.
Users switching between models often notice immediate differences in how the same resistance levels feel.
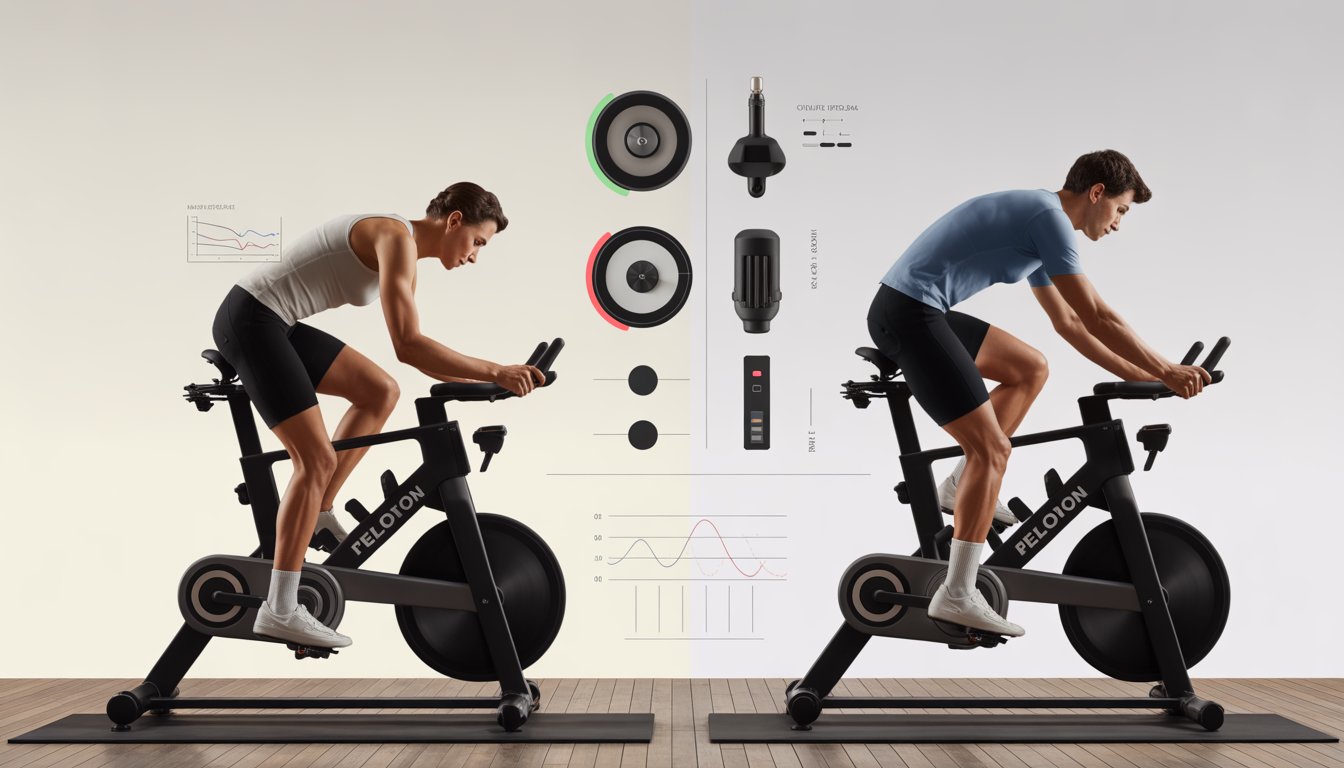
User Perceptions and Expectations
Individual factors significantly impact how different a Peloton bike feels to each rider.
Seat height, handlebar position, and cleat placement all affect pedaling mechanics and perceived difficulty.
Fitness levels create different baseline expectations.
A beginner might find resistance 30 challenging, while an experienced cyclist considers it a warm-up.
These positioning factors can influence how resistance feels on any given bike.
Personal factors affecting bike feel:
- Body mechanics: Height, leg length, and flexibility
- Riding experience: Previous cycling background
- Expectations: Anticipated difficulty levels
- Physical condition: Current fitness and fatigue levels
Shoe and pedal differences also matter.
Different cycling shoes or cleat positions change power transfer efficiency.
This makes the same resistance feel easier or harder depending on equipment setup.
Mental expectations play a role too.
Riders who expect a bike to feel different often perceive greater differences than actually exist.
Common Causes of Differences Between Bikes
Several factors contribute to why Peloton bikes feel different from one another, even when they're the same model.
Calibration varies noticeably between bikes, and mechanical components can have slight variations that affect performance.
Calibration Inconsistencies
Each Peloton bike requires individual calibration to ensure accurate resistance and power readings.
Power readings appear to be about 20% inflated and do not seem consistent across different bikes.
The calibration process involves adjusting the bike's sensors to match standard measurements.
However, this process isn't perfect.
Small errors during calibration can lead to significant differences in how resistance feels between bikes.
Each bike is different even after calibration.
A resistance level of 40 on one bike might feel like 35 or 45 on another bike.
This creates confusion when riders switch between different Peloton bikes at home or in studios.
The magnetic resistance system relies on precise positioning of magnets near the flywheel.
Even tiny variations in this positioning affect how much effort each resistance level requires.
Hardware and Mechanical Tolerances
Manufacturing tolerances mean no two bikes are exactly identical.
The flywheel, belt, and resistance mechanisms have slight variations that affect performance.
Belt tension varies between bikes during assembly.
A tighter belt creates more baseline resistance.
A looser belt reduces the overall resistance feeling across all levels.
Flywheel weight can vary by small amounts due to manufacturing processes.
Heavier flywheels provide more momentum and smoother pedaling.
Lighter flywheels feel less stable during high-intensity intervals.
Key hardware differences include:
- Belt tension variations
- Flywheel weight differences
- Bearing quality and friction
- Pedal and crank arm tolerances
Age also affects hardware performance.
Older bikes develop wear in bearings and belts.
This wear changes how resistance feels compared to newer bikes with fresh components.
Software and Firmware Updates
Peloton regularly releases software updates that can change how bikes calculate and display metrics.
These updates don't always roll out to all bikes simultaneously.
Different firmware versions may use slightly different algorithms for calculating power output and resistance.
A bike running older firmware might display different numbers than one with the latest update.
The touchscreen software also affects the user experience.
Updates can change how quickly the bike responds to resistance adjustments.
Some versions process commands faster than others.
Software attempts to account for some variables but cannot eliminate all differences between individual bikes and riding conditions.
Recognizing Calibration and Output Discrepancies
Peloton bikes can show different resistance levels and power outputs even when set to identical settings.
Users often notice these differences when comparing their metrics to friends or instructors during the same workout.
Detecting Resistance and Output Variances
Output readings that seem significantly different from what users expect can signal calibration issues.
A properly calibrated bike should produce around 100 watts at 80 cadence with 40 resistance.
Users may notice their resistance feels much harder or easier than what instructors describe during classes.
This creates confusion when following along with target metrics.
Common variance indicators include:
- Power output 20-30% lower than friends at same settings
- Resistance knob requiring more turns to reach target levels
- Inability to match instructor's suggested resistance ranges
- Cadence feeling unusually difficult to maintain
Different bikes can have calibration variance of about 10% from the factory.
Some users report even greater differences when comparing home bikes to studio models.
Signs of Improper Calibration
Resistance feeling inconsistent during rides often points to calibration problems.
Users might experience sudden jumps or drops in difficulty when adjusting the resistance knob.
The bike may not respond predictably to resistance changes.
Small knob turns might create large difficulty jumps, while other adjustments produce minimal change.
Key calibration warning signs:
- Resistance numbers don't match physical effort required
- Output metrics seem unrealistic for fitness level
- Difficulty matching leaderboard positions during similar rides
- Inconsistent power readings at identical settings
Users often need to pedal much faster to achieve the same cadence and resistance combinations that others reach easily.
Identifying Power and Distance Mismatches
Power output calculations depend heavily on accurate calibration between the resistance system and bike software.
When calibration drifts, these calculations become unreliable.
Distance measurements also suffer when power readings are incorrect.
The bike uses power data to estimate how far users would travel on a real road.
Mismatch symptoms include:
- Total output significantly different from similar riders
- Distance covered seems too high or low for effort level
- Power zones feel completely wrong for fitness ability
- Workout difficulty doesn't align with displayed metrics
Users should compare their metrics to friends with similar fitness levels during identical rides.
Large discrepancies often indicate calibration issues rather than fitness differences.
Peloton bikes use magnetic brake systems that can shift slightly over time, affecting the relationship between resistance settings and actual difficulty.
How to Fix Peloton Bike Differences
Most Peloton bike differences stem from calibration issues that can be resolved through proper recalibration procedures or software updates.
When these basic fixes don't work, Peloton support can provide advanced troubleshooting or arrange service visits.
Performing a Proper Calibration
The original Peloton Bike uses a manual resistance system with magnetic brakes that gets calibrated during manufacturing.
However, riders can perform their own calibration to fix resistance issues.
Manual Calibration Steps:
- Turn off the bike completely
- Unplug the power cord for 30 seconds
- Turn the resistance knob all the way to the left (minimum)
- Plug the bike back in and power on
- Turn the resistance knob all the way to the right (maximum)
- Turn it back to minimum and begin a test ride
Some users report significant differences between bikes, sometimes up to 20% in power output.
The Bike+ models have digital calibration that should maintain better consistency.
Riders should test their calibration by comparing their typical output numbers before and after the process.
If resistance still feels heavier than displayed on screen, additional troubleshooting may be needed.
Contacting Peloton Support
Peloton support can diagnose calibration issues that home fixes cannot resolve. They have access to diagnostic tools and can determine if hardware problems are causing bike differences.
When to Contact Support:
- Manual calibration doesn't fix output differences
- Resistance feels inconsistent during rides
- Output numbers have dropped significantly over time
- Bike makes unusual noises during operation
Support representatives can walk you through advanced calibration steps tailored to your bike. They may also spot mechanical issues like worn brake pads or loose parts.
For stubborn problems, Peloton can schedule a private in-home service visit. Technicians arrive with specialized tools to measure and adjust your bike’s resistance system.
Resetting and Updating Your Bike
Software glitches can throw off resistance readings and power calculations. A factory reset often clears up these digital calibration issues.
Factory Reset Process:
- Hold the power button until "shut down" appears
- Press both volume up and power buttons together
- Hold until the monitor turns on
- Follow the on-screen instructions
Before a full reset, try clearing the cache first. This lighter step may fix calibration hiccups without deleting your settings and data.
Software updates can also resolve calibration bugs. The bike usually updates automatically, but you can check manually in the settings menu.
Bike+ models benefit from updates that improve digital resistance calibration.
After any reset or update, take a few test rides to make sure resistance and output numbers return to normal.
Maintenance Practices to Ensure Consistency
Regular upkeep keeps your Peloton feeling brand new and your stats accurate. Simple hardware checks and cleaning routines protect your bike from the drift that makes rides feel different over time.
Regular Hardware Checks
Check your bike’s key components every month for smooth, consistent performance. Start with the resistance knob—turn it from zero to max to test its full range.
Pedal Inspection
- Look for loose screws or cracks in the pedal body
- Test the clipping mechanism for smooth engagement
Belt and Flywheel Assessment
Examine the drive belt for stretching or fraying. The belt should feel tight with minimal slack when pressed.
Spin the flywheel by hand. It should rotate smoothly with no wobble or scraping sounds.
Calibration Verification
Compare your bike’s resistance readings with known calibration issues from older Peloton models. Record your typical resistance levels for favorite instructors and watch for changes over time.
Cleaning and Lubrication Tips
Clean your Peloton every few rides to keep it performing at its best. Use a microfiber cloth and water for the frame and touchscreen.
Daily Maintenance
- Wipe down handlebars and seat after each use
- Clean pedals to keep clip-ins smooth
- Remove sweat from all metal surfaces right away
Weekly Deep Cleaning
Apply bike-specific lubricant to the resistance knob mechanism once a month. Skip household oils—they attract dust and grime.
Carefully clean the flywheel housing without disturbing internal parts. Check belt tension and adjust if needed, following the manufacturer’s specs.
Replace worn parts as soon as you notice them. Prompt repairs keep your bike’s feel and accuracy consistent.
Frequently Asked Questions
Peloton bike calibration uses specific tools and steps that impact resistance accuracy and output readings. Most riders recalibrate every 4-6 months, or when performance or resistance feels off.
How do you properly calibrate your Peloton bike to ensure accurate performance?
You’ll need a Phillips screwdriver, 3mm and 4mm hex keys, and a Peloton calibration kit with a plastic wedge and white discs. Remove the water bottle holder and sweat guard to reach the internal parts.
Open the calibration screen from your device settings. Tap the top right corner of the "About" box 10-20 times to unlock the sensor calibration menu.
Set minimum and maximum resistance by turning the knob fully left and right. Place the plastic wedge between the second and third magnets on the flywheel’s edge.
Secure the wedge with the resistance knob, then remove it without moving the knob. Place the white discs under the resistance knob, matching the lines and facing the bike’s neck.
Finish the 31-step calibration on screen. Test different resistance levels to confirm everything feels right.
What are the steps involved in recalibrating a Peloton bike?
Start by gathering your tools and removing the water bottle holder and sweat guard. Access the hidden calibration menu from device settings.
Turn the knob fully left for minimum resistance and tap "Calibrate." For maximum resistance, turn the knob fully right and select the corresponding button.
Carefully position the wedge between the flywheel magnets. Tighten the resistance knob until the wedge is snug but removable.
After removing the wedge, use the white discs to guide precise knob movements through the 31-step process. Press "Set" after each quarter turn.
A factory reset clears out old resistance settings and completes the recalibration. The whole process takes about 30-45 minutes for first-timers.
Can differences in calibration lead to a different riding experience on Peloton bikes?
Calibration differences can make one bike feel much harder or easier than another at the same settings. Peloton says there’s a 10% variance between bikes, but real-world gaps can be even bigger.
Poor calibration makes it tough to follow instructor cues and can throw off your workout quality.
Output numbers become unreliable when calibration is off. You may see power readings that don’t match your actual effort.
Calibration gaps between bikes can reach 20%, making comparisons with friends meaningless. The Bike+ helps solve this with automatic calibration.
Where can you find a Peloton calibration kit and instructions for use?
Peloton calibration kits come with older bikes, but you’ll need to request one from support for newer models. The kit includes a plastic wedge, white discs, and hex keys.
Without warranty coverage, calibration tools cost about $100 through Peloton support. Only Peloton supplies the official components for precise adjustment.
Instructions are available from Peloton support and cycling websites. Follow the steps exactly to avoid damaging your bike.
Some riders try DIY calibration with tape and rulers, but the official tools deliver the best results and protect your resistance system.
What are common indicators that your Peloton bike may not be calibrated correctly?
If resistance feels too easy or too tough compared to instructor cues, calibration might be off. You may struggle to hit target zones or recommended settings.
Output readings that seem too high or low for your effort are another sign. Proper calibration should give you 250-265 watts at 50 resistance and 100 cadence.
Performance that changes between workouts at the same settings often means calibration drift. The bike’s accuracy can fade over time.
Unusual noises or rising difficulty during rides could point to mechanical issues affecting calibration. These problems often start small and get worse if left unchecked.
How often should you check and recalibrate your Peloton to maintain optimal performance?
Most riders should recalibrate every 4-6 months to maintain accuracy. Regular calibration prevents gradual drift that occurs naturally with magnetic resistance systems.
Immediate recalibration becomes necessary when resistance feels significantly different from normal. Changes in output patterns or difficulty levels signal the need for adjustment.
The Bike+ requires less frequent calibration due to its automatic digital system. Manual calibration may still be needed if performance issues develop.
Riders who use their bikes heavily or notice performance changes should check calibration more frequently. Environmental factors and regular wear can affect calibration stability over time.
Trust your investment to a master technician who knows you and your equipment. Note: Treadmill Maintenance Program coming soon!
The Concierge Maintenance Program includes:
Experience worry-free workouts with personalized service from a Certified Master Peloton Technician. Here's what you get with the program:
Thorough Inspection: David’s keen eyes and ears evaluate every inch of your bike and sound that it makes. This meticulous check ensures early detection of potential issues, preserving the bike’s lifespan and performance.
Hardware Integrity: Bolts, nuts, and screws on your Peloton bike’s screen, goose-neck, handlebars, cupholders, wheel cover, seat, inner and outer belt guards, stabilizers bars, foot pads, and nuts are inspected and tightened to precise specifications. This prevents unexpected loosening or breakages, providing a safe and sturdy workout environment.
Sensor and Resistance System Check: Ensuring these crucial components are working accurately guarantees your workout stats are reliable, and your resistance changes are smooth.
Front Hub and Axil Assembly Evaluation: This inspection safeguards the operational efficiency of your Peloton bike, ensuring smooth and fluid wheel movement.
Cadence Magnet Check: This ensures your pedaling speed is accurately tracked, enabling you to follow along with your workouts correctly.
Bottom Bracket Examination: Checking and tightening the bottom bracket to proper torque specifications ensures the bike’s structural integrity and prevents damaging wobble during intense workouts.
Touchscreen Optimization: By removing “bloat” data from the touchscreen memory, we enhance its responsiveness and speed, providing you a seamless user experience.
Belt Adjustment: A properly tightened and aligned belt ensures efficient power transfer from your pedaling to the bike’s mechanism, leading to an effective and smooth ride.
Crank Arm and Pedal Inspection: Tightening the left and right crank arms, inspecting pedals, and securing screw rivets ensures the stability of your pedal stroke, preventing potential injuries and maintaining bike longevity.
Proper Bike Calibration: This essential service ensures your bike’s resistance levels are accurate, offering you a consistent workout experience.
**Personalized Care: We’re always ready to answer any questions you may have, and are more than willing to look into any specific area of concern you may have with your Peloton equipment. Year round!
